
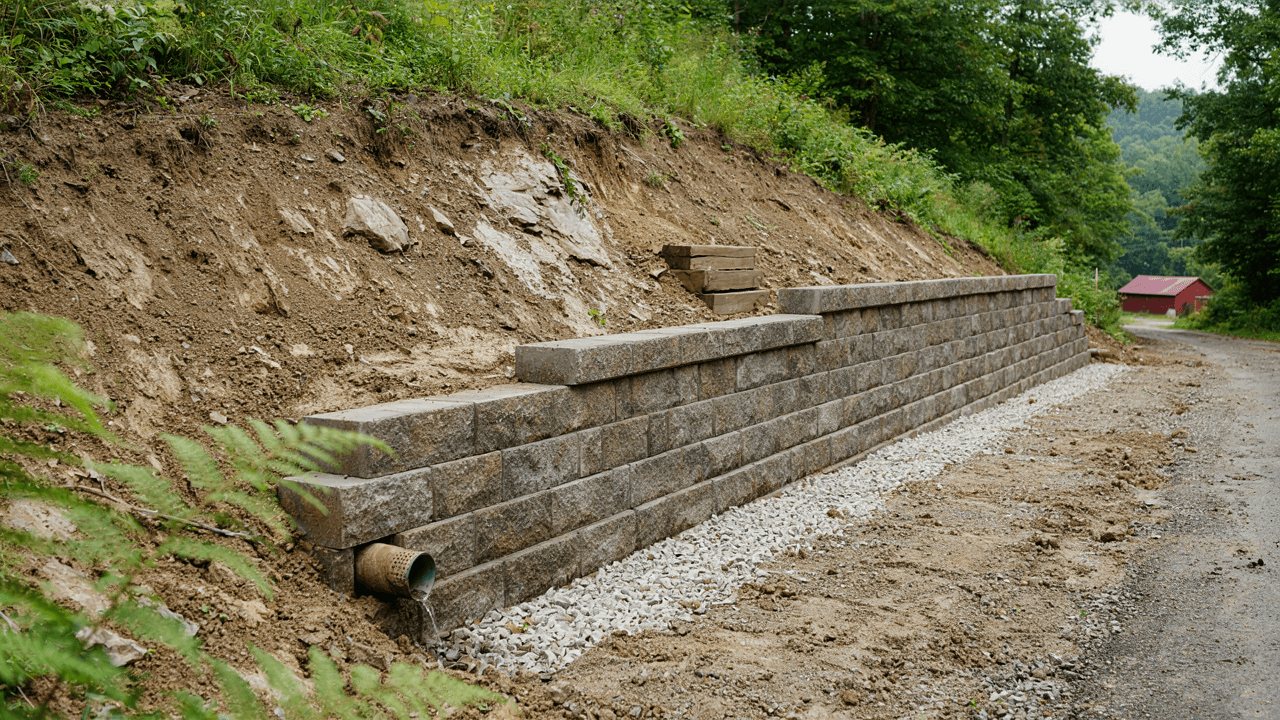
A retaining wall does more than hold back dirt. It manages water, protects your yard, and keeps a slope from shifting toward your home. When you build a retaining wall the right way in East Tennessee, it can last for decades. When it is built wrong, it can start to fail within months.
Our rocky, clay-heavy hillsides make that gap even bigger. Heavy rain, steep grades, and hard ground all put extra pressure on a wall. This guide walks through the full process so you know what a lasting wall requires.
Educational guide: This article explains the process, but professional installation is strongly recommended for any wall over 2 feet tall or any wall on a slope.
Why Rocky Tennessee Terrain Is Tough on Retaining Walls
Many East Tennessee properties sit on sloped lots with shallow rock, dense clay, and soil that holds water. Water is the real enemy. Wet clay gets heavy, and that weight pushes against the back of your wall.
Rock makes digging harder, too. It can leave an uneven base, and an uneven base leads to leaning walls. For that reason, careful planning matters more here than it does on flat, sandy ground.
How to Build a Retaining Wall in 8 Steps
Here is the full process, from the first site check to the final cap. Use it to understand what quality work looks like, even if you plan to hire it out.
Step 1: Assess the Slope and Drainage Needs
Start by studying the site. Measure the wall height and length, and note how steep the slope is. Watch where rainwater flows during a storm. Then check for nearby structures, driveways, and utility lines. Call Tennessee 811 before you dig so buried lines get marked. Finally, choose a wall type that fits the job, such as segmental block, natural stone, or timber.
Step 2: Plan Drainage Behind the Wall (Critical)
Drainage decides whether a wall survives. Water that builds up behind a wall creates pressure the wall was never designed to carry. Plan where water will enter, where it will collect, and where it will exit. A good plan includes clean gravel behind the wall, a drain pipe, and a clear outlet that sends water away from your home.
Step 3: Excavate and Establish the Base
Dig a trench wide enough for the wall plus the gravel behind it. As a general rule, bury the first course about one inch for every eight inches of wall height, with a minimum of about six inches. Remove loose soil and soft spots. On rocky ground, level the trench carefully so the base sits flat.
Step 4: Install the Gravel Base for Drainage
Fill the trench with crushed stone, not soil or sand. Add it in layers of three to four inches, and compact each layer with a plate compactor. Aim for a flat, level base about six inches deep. Check it with a level in every direction, because every course above it depends on this foundation.
Step 5: Build the Wall in Courses and Batter Each Layer Back
Set the first course with extra care. Then stack each new course so it steps back slightly toward the slope. This backward lean is called batter, and it helps the wall resist the soil pushing against it. Follow your block manufacturer’s setback guidelines, stagger the joints, and check for level often.
Step 6: Install Drainage Pipe Behind the Wall
Place a four-inch perforated drain pipe behind the base course, on a bed of gravel. Slope it gently so water flows toward the outlet. Wrap the pipe in filter fabric, and cover it with clean gravel. Then run the pipe to daylight, or to a proper drain, well away from the wall and any structure.
Step 7: Backfill and Compact
Fill the space directly behind the wall with clean three-quarter-inch crushed stone, about a foot wide. Add it as you build, not afterward. Then fill the rest with soil in thin lifts of about six inches, and compact each one. Skipping compaction lets soil settle later, which pushes the wall forward.
Step 8: Cap and Finish
Finish with cap blocks set in construction adhesive. Caps protect the top course and give the wall a clean look. Next, grade the soil above the wall so surface water flows away from it. Add plants or ground cover to hold the soil in place. After heavy rain, check the wall and the pipe outlet for any problems.
Common Mistakes That Cause Retaining Wall Failure
Most failures trace back to a short list of errors. Avoid these four, and your wall has a much better chance of lasting. Each one is preventable with planning, the right materials, and patience during the build.
- No drainage. Without drainage, water builds up behind the wall. Wet soil weighs far more than dry soil, and that pressure can push a wall over, often after a single heavy storm.
- Wrong base depth. A shallow or soft base lets the wall settle unevenly. Over time, that causes bulges, gaps, and cracks.
- Improper batter. A wall stacked straight up has little defense against soil pressure. Without batter, it can lean outward.
- No geogrid on tall walls. Taller walls need geogrid, a strong mesh laid between courses and into the backfill. It ties the wall to the soil behind it. Industry groups such as the National Concrete Masonry Association publish design guidance for segmental walls.
When to Hire a Professional for Your Retaining Wall
A low garden wall can be a reasonable weekend project. However, you should hire a professional in these situations:
- Any wall over 2 feet tall.
- Any wall on a steep slope.
- Any wall near a structure, driveway, or property line.
Many local codes also require engineered plans for taller walls, so check the rules early. A professional brings the right equipment, engineering knowledge, and experience with local soil. That protects both your investment and your safety. A professional can also spot hidden problems, such as buried rock, underground springs, or soil that needs special treatment, before they turn into expensive repairs.
Ready to Build a Retaining Wall That Lasts?
Do not leave your slope to chance. Our team designs and installs retaining walls built for East Tennessee terrain. Explore our retaining wall services and contact us today to schedule your consultation.
FAQs
Most walls need about six inches of compacted gravel. In addition, the first course is usually buried about one inch for every eight inches of wall height. Taller walls and weak soil need more, so a professional should confirm the depth.
Rules vary by city and county. Many areas require permits or engineered plans once a wall passes a certain height. Check with your local codes office before you start.
A well-built block or stone wall with proper drainage can last decades. A wall without drainage or a solid base may fail in months.
We do not recommend it. Steep slopes put far more force on a wall, and mistakes get expensive fast. Hire a professional for any wall on a steep slope.
Ready to get a quote for your project? Explore our patio & hardscaping services → Or go straight to scheduling: Request your free quote.